
The original recipe for Key Lime Pie can be found on FoodNetwork.com at http://www.foodnetwork.com/recipes/key-lime-pie-recipe1.html courtesy of Joe's Stone Crab Restaurant.
I love Florida, it's my favorite place on this planet. I also love pie, it is by far my preferred dessert above all else. The first time I tried Key Lime Pie was in Florida (fitting), and since then I have been hooked on this cool, creamy, tart lovely. I love how it's so contradictory to itself, yet it works. Sweet versus tart, the lime screams refreshing while the texture screams decadence and luxury, then the graham cracker grounds everything and makes you think "homey".
Sadly many people have had a tenuous relationship with this treat. Often when you talk to people about Key Lime Pie they constantly talk about the large swing of awesomeness versus suckatude they've experienced. Frustratingly this is caused by the usual suspects in food, odd preservatives, fake flavoring, and fake coloring easily ruin something that is supposed to be simple and balanced. If you've had a bad experience with Key Lime Pie I ask you to remember one thing, any food can be ruined by such things... give it one more try.
For this recipe you will need:
Ingredients:
For the Crust:
1/3 of a pound of graham crackers
5 tablespoons of melted unsalted butter
1/3 cup of sugar
For the Filling:
3 egg yolks
2 teaspoons key lime zest (1 teaspoon key lime zest)(will discuss later)
1 14 ounce can of sweetened condensed milk
2/3 cup of fresh squeezed key lime juice
For the Whipped Cream:
1 cup heavy whipping cream (chilled)
2 tablespoons confectioner's sugar (powdered sugar)
(1/2 tablespoon or more vanilla extract)(will discuss later)
Equipment:
Stand Mixer or Hand Mixer
Food Processor (optional but recommended)
Disposable (preferred) or Reusable Pie Tin
Hand Juicer or Squeeze Juicer (preferred)
Before you begin pre-heat your oven to 350 degrees.
I want to get something clear before we go too far in to this process; Key Lime Pie is NOT supposed to be green. I said it. It's true. Deal with it. If you see Key Lime Pie that is actually green, I would steer clear of said product. Now we may begin.

Step one is the crust, being as it's hard to have a pie without it.
Begin by setting up your food processor, and putting your graham crackers in whole. Your going to pulse the crackers about 10-12 times until they are broken up pretty well. My food processor only has "pulse" and "on" as options, so go ahead and give your graham crackers a spin until they are a uniform consistency. Be careful not to OVER process them though, we are not trying to make a 'graham flour'.
Should you not own a food processor fear not, for you are not screwed! You can process your graham crackers by getting a gallon size Ziploc bag, and crushing them with a rolling pin until you are satisfied with the consistency. The reason I use a food processor? Pure, laziness.


(picture above is after pulsing, you want them more consistent and smaller for end product)
When your graham crackers are the proper consistency you may now add your melted butter and sugar. I would recommend if your using the food processor that you pulse the ingredients together before you take them for the final spin. Also you may need to manually mix the ingredients slightly from time to time with a spatula. Once combined go ahead and let the processor mix it for another minute or so, and you'll be ready to poor your mixture in to your pie pan.
If your not using a food processor, simply poor your crackers, sugar, and butter in to a bowl and mix with a spatula or spoon until everything is combined well. Once combined, go ahead and poor the mixture in to a pie pan as stated above.


OK so I'll admit this is the first time making a scratch made graham cracker crust actually turned out well for me. Starting from the middle start to press down the graham cracker, and make sure when you start to spread out you concentrate on getting the graham cracker in to the corners well. Think more 'squish' as opposed to 'spread' as you do this. Take your time, don't force it, keep squishing, and you'll get to the end product desired.
Now it's time to put your pie crust in the oven. Make sure you put it in the middle rack of your oven, do not put it too high or too low. Set your timer for 8 minutes, and when it goes off take out the crust and put it to the side to cool.


Now we get to work on the 'meat' of the pie, the filling! As with many things in life this is much simpler than it appears, but if you're not careful you can make a serious mess of things.
Start by doing all the foot work prior to trying to mix things. I tend to try and get things that are a pain the butt out of the way first, so I started by separating my eggs. If you want a tutorial on separating eggs, please refer to my Creme Brulee post. There is a video that will guide you step by step.
Next you can zest your Key Limes. Above I mentioned I would talk about the amount of zest that goes with the recipe. When I made this, I stuck to the recipe, and found the Pie was kung pow tart. Yes yes I know it's supposed to be tart I don't need to hear the lecture, but it's also supposed to be somewhat balanced. I actually had to use more whipped cream after all the pictures had been taken, so if you LOVE LOVE LOVE tart Lime flavor, proceed with two teaspoons, for me, I'm going to cut it in half next time. Also remember when you zest try not to zest so much from one spot your putting pith (the white stuff under the green) in with your zest.
Next you can juice the Key Limes you just zested. If you're using a hand squeezer like I do, make sure you cut off the tip of the Key Limes, and aim the hole downward through the juicing hole. That way you wont have a potential Key Lime bomb every time you squeeze. When you have the amount of juice you need, you can poor the juice back through the juicer in to a container so you can get any seeds out while keeping the genuine pulp in with the juice.


Now that all the ingredients have been prepped we can move on to mixing the filling. As stated before this is actually quite simple, but if you don't pay attention to detail you can make a real mess of things.
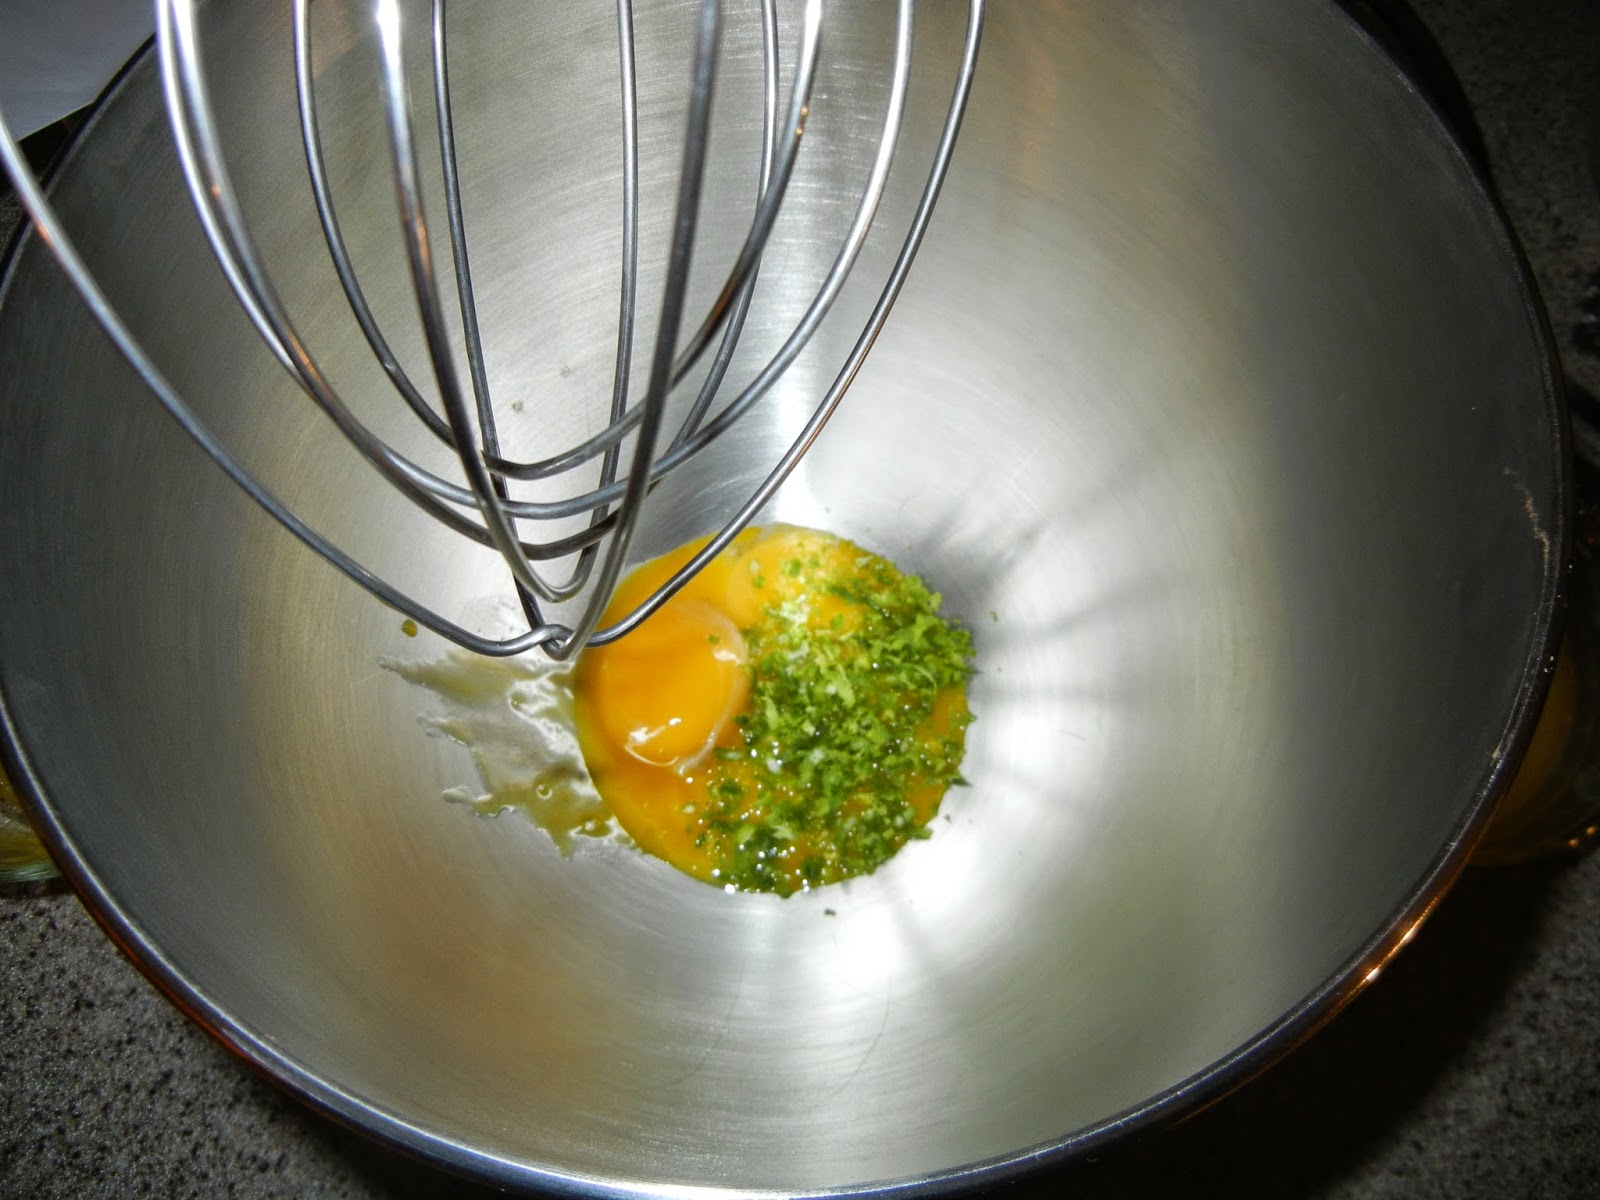
Start by setting up your stand mixer (use your wire whisk attachment), and gather your sweetened condensed milk, Key Lime juice, Key Lime Zest, and Eggs in reaching distance. If you're not using a stand mixer, make sure you have a hand mixer and a mix-safe bowl. Why am I using a stand mixer instead? Again, pure laziness, and more power.
Start by putting your Lime Zest and Egg Yolks in first. Start your mixer slow and quickly build up speed until you're basically at full power. The goal here is to mix until the eggs and zest start to turn into a lighter yellow color, and will almost double in size. This is going to take about 5 minutes. Once you've whipped your Eggs long enough go ahead and start to slowly poor your Condensed Milk in to the mixture (I'd recommend turning down the speed to about half way for this, just until the Condensed Milk has been poured). Turn your speed back up, and keep whipping the mixture for another 3 to 4 minutes (I went with four). Over the course of the whipping you'll see yet again the mixture will lighten slightly in color and expand in size. Turn your speed down by half again, and slowly pour in the Key Lime Juice into your proto-pie mix. DO NOT turn your speed up, and let the two liquids combine. Once the Key Lime Juice has been incorporated, stop. You do not want to over whip once the Juice is in.



Pour proto-pie filling in to your now cooled graham cracker crust, and again put your pie in to the middle rack of your oven. Set your timer for 10 minutes and DON'T STARE AT IT WHEN IT COOKS! Once you pull it out it will look barely cooked (perfect), and you can set it to the side and let it completely cool.


Once the pie has been out of the oven for a bit, and is cool to the touch on the underneath, put it in your fridge (Key Lime Pie is supposed to be cold after all). I'm not entirely sure how long it needs to be in there before completely chilled, personally I left it in over night.
The next day I decided to do a touch of decorating before I served this pie up. You can decorate this however you see fit, or not at all. If you want whipped cream but hate piping, just make the whipped cream and put a dollop on top, or on the side when you serve.
Using the same stand mixer with the same wire whisk attachment, put the aforementioned Whipping Cream, Confectioner's Sugar, and if you follow my recommendation the Vanilla Extract (the original recipe does not call for the Vanilla Extract, but it's a personal preference for me, otherwise you just taste sugar). Start your mixer on slow, let it work some air in to your proto-topping, then continually build speed until your are on high. Leave it on high until the topping basically doubles in size, and you can dip the whisk in and get something called "stiff peaks".
("Stiff Peaks" means you can take your whisk attachment off, dip it in the whipped cream, and when you bring up your whisk the Whipped Cream's point or "Peak" will only dip slightly if at all, not droop over. Be careful though, whip it too long and you'll make butter.)
I happen to own quite of a bit of piping equipment, and enjoy such things, so I decided to bust out a piping tip and decorate my Pie. I was out of piping bags so I simply grabbed a Ziploc bag and cut off a corner. You can pipe like this too, even without a piping tip if you wish. Pictured below is the final product.


If you wan the clean cut look you see above, freeze the pie for 20 minutes before you slice. This will make sure it keeps it's shape.
I love this recipe, and more importantly this Pie. The texture is bang on, it's delightfully tart, sweet, and the graham cracker crust absolutely rounds everything off perfectly. I for sure will make this again, probably a couple times, this summer alone. Make this for your friends and family and you'll impress for sure. Everyone will think this took hours upon hours to make, when in reality it only takes about a hour and a half. Eat well everyone!
(By the way, notice... no green except for the actual Lime)


