In this blog I take a recipe, and see if an amateur "IdiotDad" (myself) can execute it. I will point out helpful hints, as well as pitfalls.
Showing posts with label Chicken. Show all posts
Sunday, February 15, 2015
Dinner Quickie 1 - Bacon BBQ Chicken Breast
Traditionally I would credit a website, chef, or cookbook at the top of my blog. This time around this is an invention my better half and I came up with on the fly when we were sick of the 'same ole, same ole' and didn't have the cash to eat out. So great job Suzi!
As you probably guessed by the name of my blog, I'm a dad. I love being a dad, really it's one of the highlights of my life. BUT (as all parents reading this know) with being a dad comes all sorts of stresses, responsibilities, and tight schedules I would have never conceived of as a younger man.
I know other parents read the above paragraph and nod their head in agreement. Such is the life of the modern American. Like other Americans one of the casualties of the war that is parenting many times is dinner. Sometimes it seems like there is just not enough time to work, pick up the kids, and get a decent dinner on table. Fortunately there are some short cuts you can take that won't sacrifice budget, time, or flavor. I am constantly on the prowl for such short cuts. CONSTANT VIGILANCE!!!
For this recipe you will need:
Ingredients:
Boneless Skinless Chicken Breast - Enough to feed your family
Thick Cut High Quality Bacon - Enough for two strips of bacon per chicken breast
Pre-made BBQ Sauce - Whatever is your favorite, I use Famous Dave's
Emeril's Original Essence Seasoning
Pre-Shredded Cheese - Whatever is your favorite, I used Sargento Mexican Shred
Equipment:
Tin Foil
9x13 Baking Pan
Non-Stick Frying Pan
Oven
Microwave (gasp!)
Plate Lined With Paper Towels
Before We Begin:
I love cooking. I love making things from scratch and learning new skills, I actually pride myself on that quality. I believe we as a society should get back in the kitchen more often and learn to make 'real food' the way our grandparents used to, because it's just that much better tasting, and better for you. BUT I work 50-60 hours a week. On average I don't get home until after a certain time of day. I help clean the house, I help with homework, blah blah blah. SO though this recipe may not require you to toast, grind, and mix spices or make home made BBQ sauce, it will taste pretty darn close. So don't "be hatin'".
Please pre-heat your oven to 350 degrees.
While the oven is heating up go ahead and get your tin foil and 'line' your baking pan with it. Basically just tear off a piece of foil longer than the pan, and push it down until it looks like the pan above.
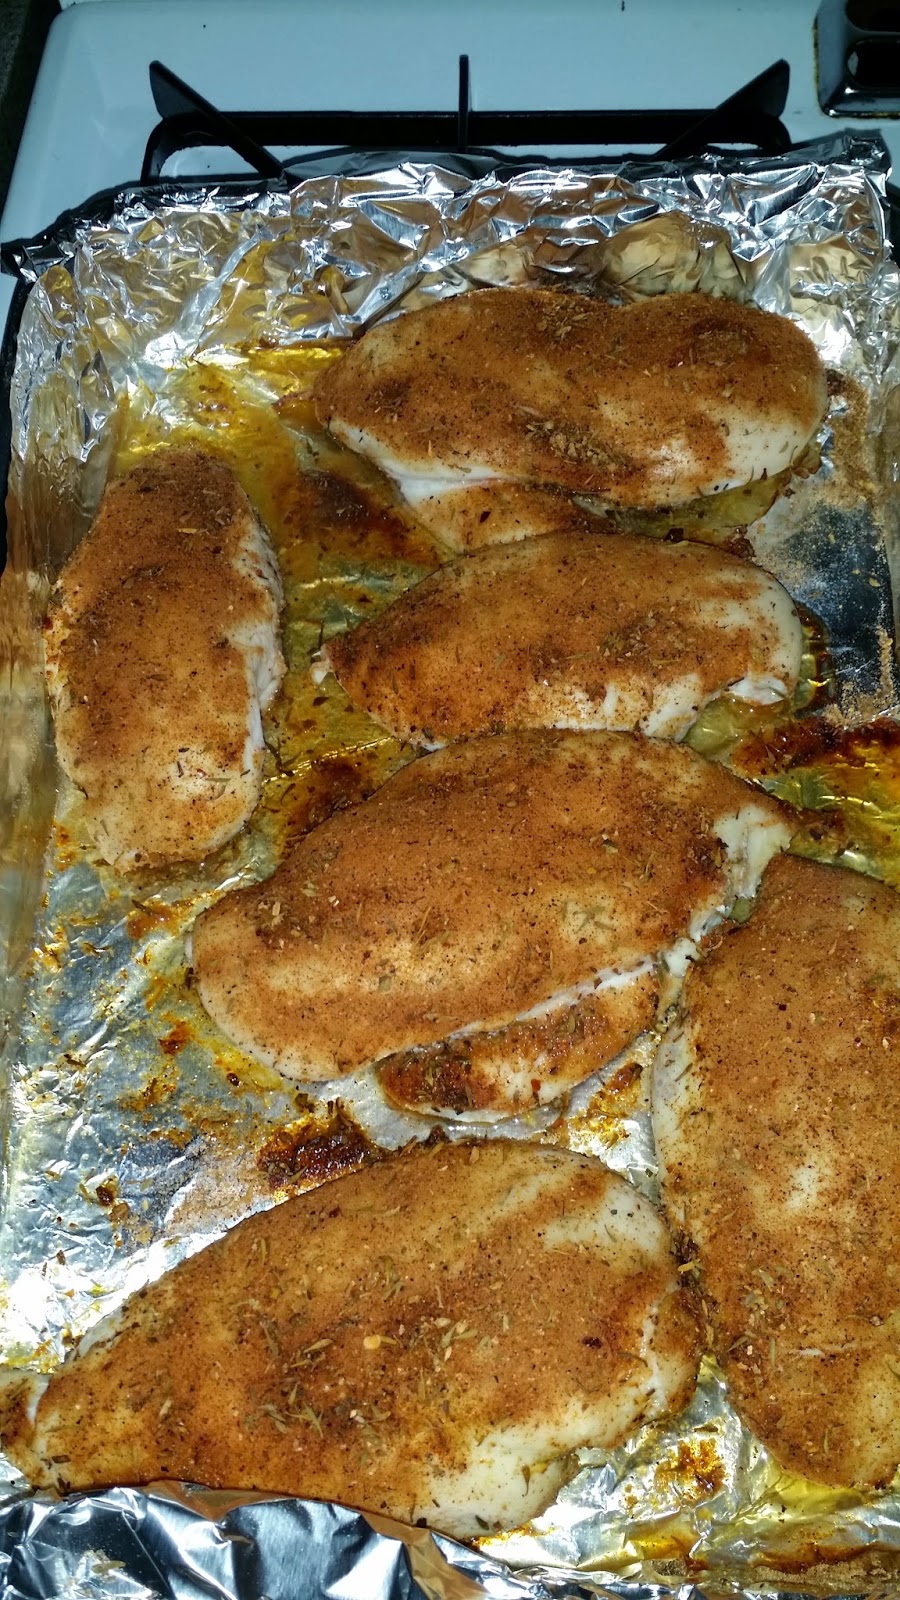
Take your chicken and put it in the lined pan. Liberally sprinkle Emeril's Original Essence (or your favorite poultry seasoning or rub) on the chicken, and rub it in. Flip the chicken breasts, and repeat on the other side. I will note that I am not using any non-stick cooking spray, it's not necessary for oven baked chicken as it tends to be pretty juicy on it's own.
Once your oven hits 350 degrees put your chicken breasts in on the middle rack, for 30-45 minutes depending on your oven, barometric pressure, humidity, and the mood of the chicken. You are looking for the chicken to be cooked through, but not crispy crittered being as you're going to microwave this for a minute or two later on. Personally my oven usually takes 38 minutes for 6 chicken breasts.
While the chicken is in the oven let's turn our attention to the BACON.
I've always been a proponent of using higher quality bacon, which of course will hit you up for a higher price. BUT I have discovered recently at Kroger, Meijer, and a local grocer that the 'case bacon' (you know the bacon in the butcher's case you've been ignoring for years because "surely we can't afford that") IS ACTUALLY FREAKIN' CHEAPER THAN THE GOOD STUFF VACU-SEALED IN THE REFRIGERATED SECTION WITH THE REST OF THE BACON!!! BY UP TO A BUCK A POUND!!! So I've been using that lately.
Cooking bacon is not difficult though it can be rather harrowing on the pan with all the popping and splattering that can occur. To minimize smoking, splatter, and traumatizing experiences I recommend cooking with a flame no higher than the "medium" setting. Simply put the offending pig candy in the pan, brown one side until the bacon has reduced in size, flip, and repeat. When the bacon is done to your liking take it off and put it on a plate lined with paper towels. Now wait for your chicken to finish baking!
Tip: You can do this bacon a day or two before. Point of fact I've made this dish once using bacon I had made for a Sunday breakfast I cooked for the family and had left over.
Once the chicken is done take it out of the oven, and allow to rest for roughly five minutes.
Now all we left is assembly, which is a snap. Put the offending chicken on a plate, and cover with as much or as little BBQ sauce as your wish. Then put the bacon on top of the sauce, then cover with as much or little shredded cheese (mmm cheese) as you want. Microwave for 30-90 seconds, and you've completed this dish!
Other than the taste and ease of cooking, and assembly of this dish, the best part is this literally took 45 minutes from fridge to table. That's it. Even better the predominance of the time it takes to make this is oven time, so you have down time to clean or help with homework while it's doin' it's thang.
I will also say I've yet to see an unhappy face about this one. Picky eaters, not so picky eaters, and everything in between seem to love it.
I hope I've helped everyone reclaim dinner time for at least one night a week, and I hope everyone enjoys this easy and relatively cheap dish with their loved ones! Eat well everyone!
Sunday, June 3, 2012
Chicken & Dumpling Classic
The original recipe for Chicken and Dumplings can be found on FoodNetwork.com at http://www.foodnetwork.com/recipes/paula-deen/chicken-and-dumplings-recipe/index.html courtesy of one of my food heroes Paula Deen.
When you think of "southern cookin'" or "country cookin'" most likely the first dish you think of will be Chicken and Dumplings. This dish has become an American staple over our short history, and I'm willing to bet most people love some version of this dish (and there's a good chance it's a family's tradition).
This dish, actually this recipe, was one of my first real expeditions into the cooking world. My family history being what it is, I absolutely considered this an important dish to master. I made it according to the recipe, and though it wasn't really what I expected, it was tasty regardless. Over the years I've refined this recipe a touch to suit my purposes, and I'm happy with the result. Though certainly I give props to Paula Deen and her family's recipe, what your receiving today is actually a hybrid Paula/Idiotdadcooks version.
For this recipe you will need:
Chicken Soup:
1 Whole Chicken in 8 pieces (2-3.5 lbs)
4 ribs celery
1/2 large onion
2 bay leaves
2 chicken bouillon cubes
1 10 3/4 ounce can Cream O' Celery soup
3 quarts water
1 Teaspoon (Red Robin Seasoning)
Dumplings:
2 cups AP flour
1 teaspoon salt
1 cup ice water
Thickener:
2 Teaspoons Cornstarch
1/4 cup cold water
*Note: If you wish to use Paula's original recipe simply follow the link above. The most noticeable differences between what you see there and here, are the following:
1. I only use 1/2 an onion, not a whole.
2. I use 3 not 4 quarts of water, otherwise in my opinion it's too soupy.
3. I use Red Robin's fry seasoning instead of Paula's "House Seasoning" because I don't feel like making house seasoning, and I think the Red Robin's seasoning is more flavorful.
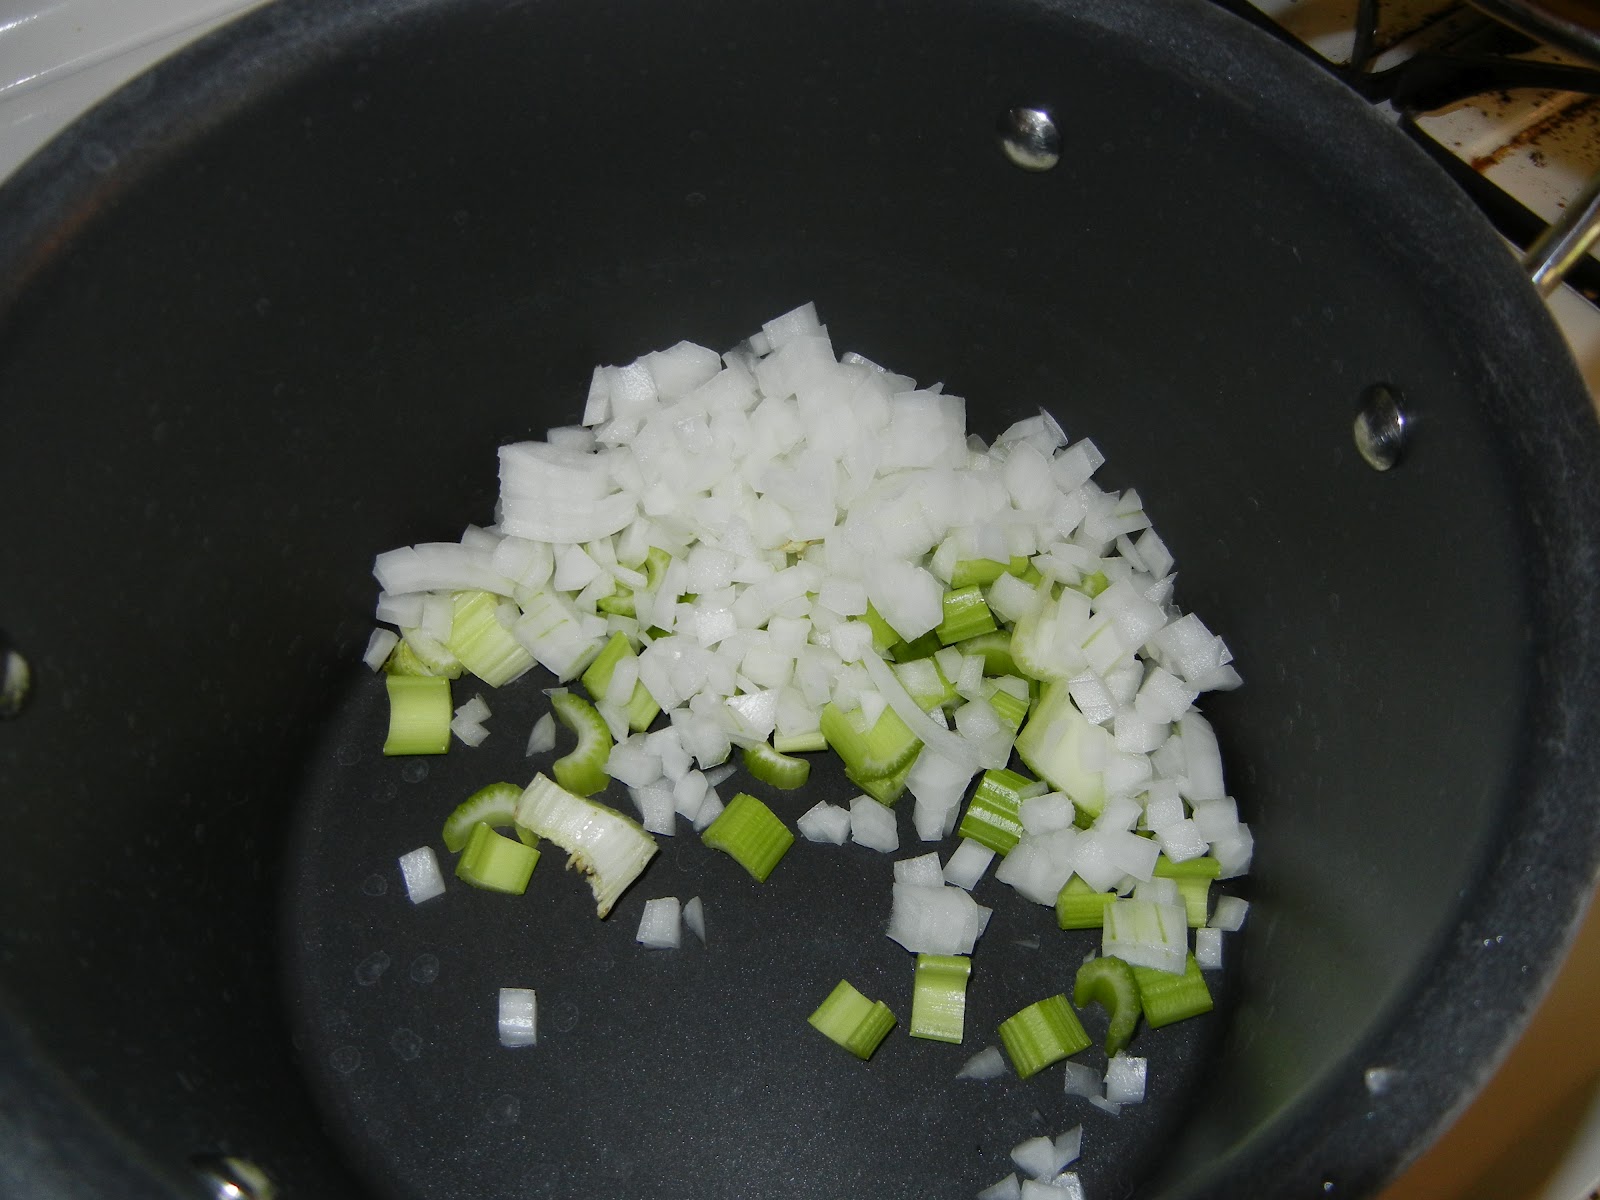
If you aren't a fan of "exact science cooking" you're going to adore this dish. The first step you want take is get all your vegetables cut. Once this is done simply put all the chicken soup ingredients in the pot, flip your stove on high until it comes to a boil. Once it starts to boil turn your heat down to medium, and simmer for 40 minutes.
Make sure you're stirring the soup portion pretty often as it cooks. You don't want anything sinking to the bottom and getting burned. You also don't want any spices or whatnot being stuck on the bottom or flavoring only one piece of chicken.
While your soup portion is cooking, get your dumplings ready. This is easy as heck. Get one cup of water and throw a couple ice cubes in it. Stir your AP flour and salt with a fork in the bowl, and make a little hole in the middle. A couple teaspoons at a time, add the water to the hole while working it in to the flour. By the time you've used all your water all the flour should be used, and make a pretty stiff ball. If you have to, add a touch more water if you can't get it all to act as one stiff dough. Let the dough rest a few minutes, then flour your surface and rolling pin, and roll it out. It should be about 1/8 to 1/4 of an inch thick. Take a pizza cutter, and cut 1" squares (or as close as you can) out of the dough. Let that rest for a while, while you finish your soup.
When your timer goes off to end the simmering of your chicken soup, take out all the chicken pieces, and throw away your bay leaves. Let your chicken cool down for a few minutes before your proceed. Peel off the skin (discard it), and pick all the meat off the chicken and put it back in the soup (discard the bones). Bring your soup back up to a boil. Add your Cream O' Celery soup, also at this time mix up a 1/4 cup of cold water and 2 teaspoons of cornstarch and throw that in too.
Once the soup has been boiling for a few minutes again start to carefully put your dumplings in the pot. Let them boil for 5 minutes, once this is done remove the pot from the heat. Allow this to cool for about 15 to 20 minutes and plate however you wish! I heated up some store bought mashed potatoes and poured the chicken and dumplings over them in the bowl, which was awesome! This will be a crowd pleaser, which is good because it will feed a crowd!
*Note: While cooking this I started to think about experimenting with the dumplings. I didn't have time to do it for this blog entry, if you wish you could put a couple teaspoons of baking powder in your flour via a sifter before you make your dough. That would make the dumplings puff up a touch, for a lighter fluffier dumpling. I may revisit this dish in the future. Until then, Eat Well Everyone!
Saturday, March 24, 2012
Mmmmmm... Wings.
Normally at the top of every blog I would credit any websites or chefs that invented the recipe I used for that day. Today I actually invented the recipe we will be using from my own experience and research over the course of my cooking past time.
I love Buffalo Wings. Period. There are very few entree`s and fewer appetizers I love more than wings. Thin sauced, thick sauced, a lot of sauce, little sauce, it doesn't matter. I love good wings. Today's goal was to try to create a quality wing recipe from my head and experimentation, and I believe I succeeded. This recipe is a very basic wing recipe, that can be either be made straight up or bent to serve your own creativity.
For this recipe you will need:
1/2 cup Frank's Red Hot Sauce
1/4 cup melted butter (salted or unsalted depends on you)
1 tsp. Worcestershire
1/8 tsp. Cayenne
Approx. 3lbs. Chicken Wings
Before we get to the down and dirty I want to address some food safety here. We are using raw chicken. I'm not paranoid but I am intimately aware of the crazy stuff that can come from handling raw chicken. Please pay attention to what you are doing, and touching. Also PLEASE PLEASE PLEASE wash your hands often.
OK the first thing you'll need to do is set your oven to 375. (I realize most wings are fried, but honestly I didn't want the mess and hassle this time around) You'll also want to set up your cut board and get a good knife ready, because you'll likely need to perform some surgery.
The wings I bought came packaged as below. Unlike in your grocers freezer section or how you see wings in restaurants they come as whole wings. This is not really a big deal. You simply take a wing and cut off the "tip" section at the joint. You can discard the tip, we will not be using them. Then I found it easiest to stand up the wing joint down, and cut into the joint attempting to get your knife in between the bones. Once you've got the process down, this will go quickly. Just set them on a plate on the side until you've completed the surgery portion of this dish. I hope the pics down below help, it's difficult taking super helpful pics on your own while working with raw poultry.
Before the next step, please take out your sheet pan and cover it with aluminum foil, then spray it down with Pam. Don't be scared to be liberal with the Pam by the way, chicken stuck to a pan is never fun. Set the pan by your sink.
After you've cut up all your wings, take your plate to the sink and run cold water over them, trying to get a decent rinse on all the pieces. Have a few paper towels handy, and one by one dry off the chicken, after which set them on the pan. Continue this process until you've washed, dried, and placed all your chicken.
Place your wings in the oven and set your timer for 10 minutes. After your timer goes off quickly flip all your wings over, and put them back in the oven for an additional 10 minutes. Now, on the nectar of the gods, BUFFALO SAUCE!
For as good as buffalo sauce is, it's dumb how simple it is make. In a bowl simply mix the all the ingredients listed above. Use a whisk to combine everything, and simply dip a spoon in and taste. If it doesn't taste "deep" enough, use more Worcestershire sauce. If it's not hot enough use more cayenne (CAREFULLY). As mentioned before the recipe I came up with is very basic and can be customized very easily to suit your individual wing craving experience.
Pretty soon your wings should be done baking. They should appear pretty similar to the picture below.
Now the fun part of making wings is "coating" the wings with sauce. This is done with a bowl, preferably metal. Simply put your wings in the bowl, add the sauce, and toss. I included a video of this process to illustrate how it should be done.
Now as I said in the video that CAN be your finished product if you wish. Just please be sure the chicken is cooked thoroughly and you're good to go!
IF you like a more baked in flavor, set your oven to "Broil" and let it heat up for a few minutes. Finish coating all your wings and set them back down on the pan. Once your oven has heated up, put your wings under the broiler, for about 6-8 minutes. Longer if desired. The finished product should look like the picture below. (on a side note: you can also toss them in sauce a second time after you've broiled, which is what I plan on doing the next time I make this recipe)
The smell is fantastic. When I plated as you'll see below I kept some wing sauce for additional dipping, and put some celery and bleu cheese on the dish as well. Believe it or not, that's it. That's all it takes to make wings at home, about 1 hour front to back. They're simple, they're delicious, and best of all they're easy. Eat well everyone!
Subscribe to:
Posts (Atom)